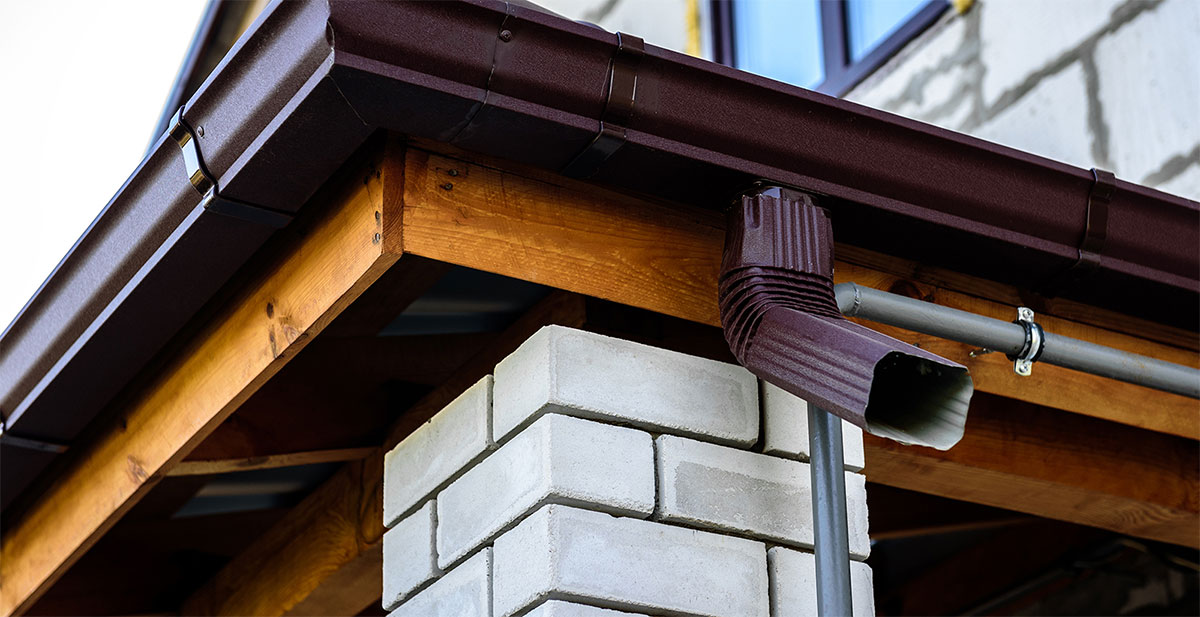
To replace the fascia board behind the gutter, follow these steps: remove the gutter, pry off the old fascia board, measure and cut a new fascia board to size, and attach it to the rafter tails. This process will ensure a proper installation and help maintain the structural integrity of the gutter system.
Maintaining the fascia board behind the gutter is crucial to protect your home from water damage. Over time, fascia boards can deteriorate due to weather conditions and age. When this happens, it’s essential to replace the damaged board promptly. In this guide, we will provide you with simple and precise instructions on how to replace the fascia board behind the gutter.
By following these steps carefully, you can prevent further damage and ensure the functionality of your gutter system, keeping your home safe and dry.
Credit: clearambershop.com
Step-by-step Process
Replacing the fascia board behind your gutter is a relatively simple process that can improve the structural integrity and appearance of your home. By following a step-by-step approach, you can ensure a successful replacement and avoid any potential issues. In this guide, we will walk you through each stage of the process, from safety precautions to the finishing touches.
Safety Precautions
Before starting any construction project, it is important to prioritize safety. Here are some key safety precautions to keep in mind when replacing the fascia board behind your gutter:
- Wear appropriate safety gear, including gloves, safety goggles, and a dust mask.
- Ensure your ladder is secure and stable before climbing.
- If working at heights, consider using a safety harness or hiring a professional.
- Avoid working during adverse weather conditions, such as strong winds or heavy rain.
Removing The Old Fascia Board
The first step in replacing the fascia board is to remove the old one. Here’s how:
- Use a pry bar or a hammer to carefully remove any nails or screws securing the old fascia board in place.
- Starting from one end, gently pry the old fascia board away from the eaves.
- Continue this process along the entire length of the fascia board until it is completely detached from the structure.
- Once removed, inspect the underlying wood for any signs of damage or rot. If necessary, make any necessary repairs before proceeding.
Measuring And Cutting The New Fascia Board

With the old fascia board removed, it’s time to measure and cut the new board:
- Measure the length of the area where the new fascia board will be installed. Take accurate measurements to ensure a precise fit.
- Transfer your measurements to the new fascia board, using a pencil or a marker to mark the cutting lines.
- Using a circular saw or a hand saw, carefully cut along the marked lines to create the new fascia board.
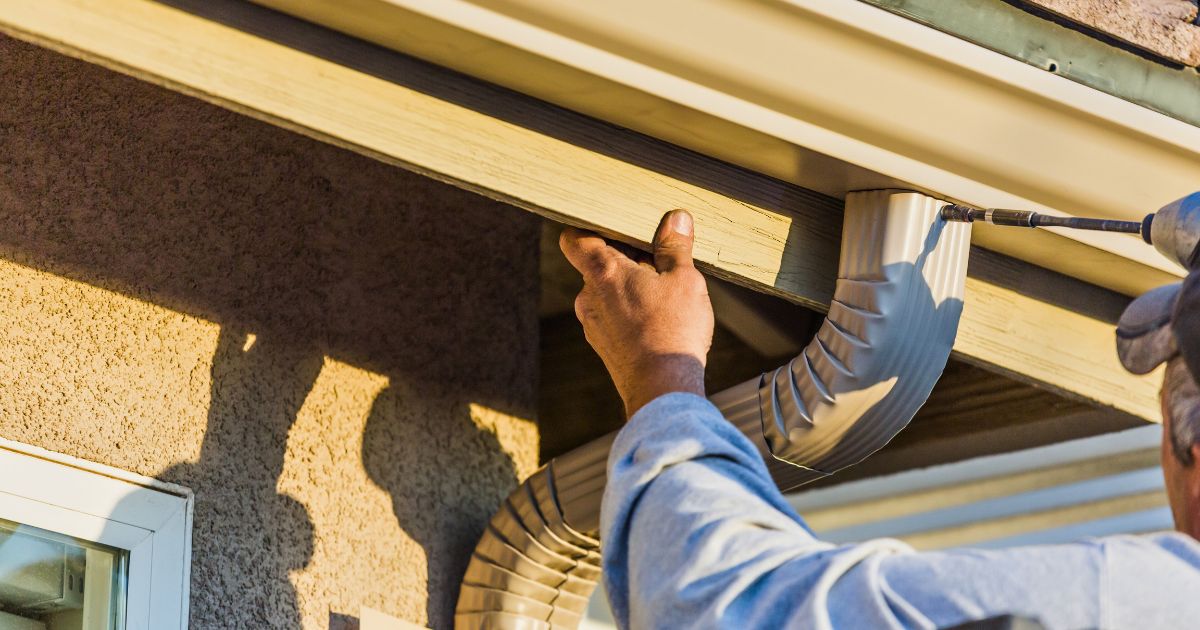
Securing The New Fascia Board
Now that you have the new fascia board ready, it’s time to secure it in place:
- Position the new fascia board against the eaves, ensuring it aligns properly with the existing structure.
- Using screws or nails appropriate for exterior use, fasten the fascia board to the underlying wood at regular intervals.
- Make sure the board is level and secure before moving on to the next section.
Finishing Touches
Finally, to complete the replacement process, you can add some finishing touches:
- Inspect the installed fascia board for any gaps or imperfections and fill them with a suitable exterior-grade caulking.
- Consider painting or staining the new fascia board to match the existing color scheme of your home.
- Clean up any debris or waste materials from the installation area and properly dispose of them.
By following these step-by-step instructions, you can successfully replace the fascia board behind your gutter, improving both the functionality and aesthetic appeal of your home.
Credit: todayshomeowner.com
Credit: www.iko.com
Frequently Asked Questions Of How To Replace Fascia Board Behind Gutter
How Do You Replace A Fascia Board Behind The Gutter?
To replace a fascia board behind the gutter, follow these steps:
1. Start by removing the gutter and downspout. 2. Use a pry bar to remove the old fascia board. 3. Measure and cut a new fascia board to the appropriate length. 4. Attach the new fascia board using screws or nails. 5. Reinstall the gutter and downspout. 6. Finally, paint or seal the new fascia board for added protection.
Conclusion
Replacing the fascia board behind the gutter is an essential task to maintain the integrity of your home’s structure. By following the step-by-step guide provided in this blog post, you can successfully replace the fascia board and ensure the proper functioning of your gutter system.

Remember to prioritize safety, gather the necessary tools, and take your time to complete the task effectively. With these instructions, you’ll be able to tackle this DIY project with confidence and protect your home from potential damage.
- Ltl Dispatch Software: Revolutionize Your Logistics! - March 31, 2024
- Optimizing the Mixing: The Perfect Bacteriostatic Water Ratio for 3Mg Semaglutide - March 27, 2024
- Mobile Accessibility And Real-Time Tracking for Trucking Operations - March 26, 2024